Syncing options
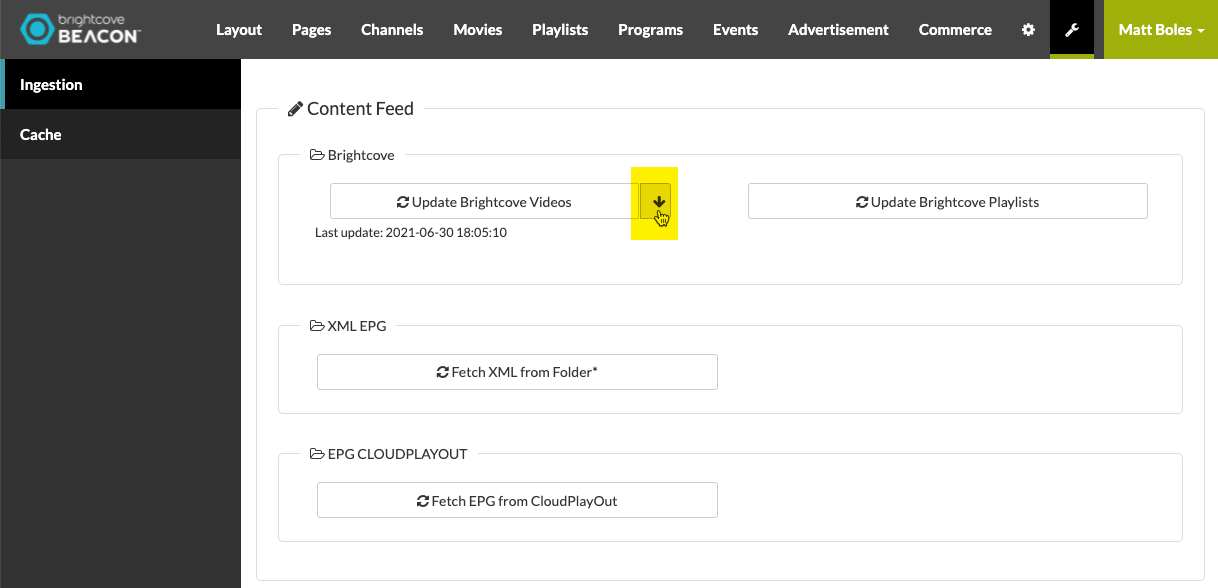
In the Tools section of Brightcove Beacon you have two options for syncing Brightcove Beacon with the Video Cloud catalog. To get to the tools, click on the wrench icon in the top menu, then the Ingestion option on the left menu:

Here you have two tools concerning synchronization with Video Cloud. They are:
- Update Brightcove Videos: This provides a way to see the results of the automated syncs that have taken place between Brightcove Beacon and the Video Cloud catalog.
- Update Brightcove Playlists: If you have added playlists to your Video Cloud catalog, or altered existing playlists, this button syncs the newly added or updated playlists to Brightcove Beacon. This need only be used if you need to get playlists if you are not seeing changes in the Brightcove Beacon apps you have made to playlists. If not all the videos are displayed in a playlist after syncing, check the video sync data for errors ingesting the videos into Brightcove Beacon.

Viewing sync data
The video sync process is done based on notifications from Video Cloud when catalog changes are made to videos. New assets, deleted assets, metadata and image updates, etc. all will trigger a synchronization between Brightcove Beacon and the Video Cloud catalog. You can track the changes by clicking the arrow on the Update Brightcove Videos button.

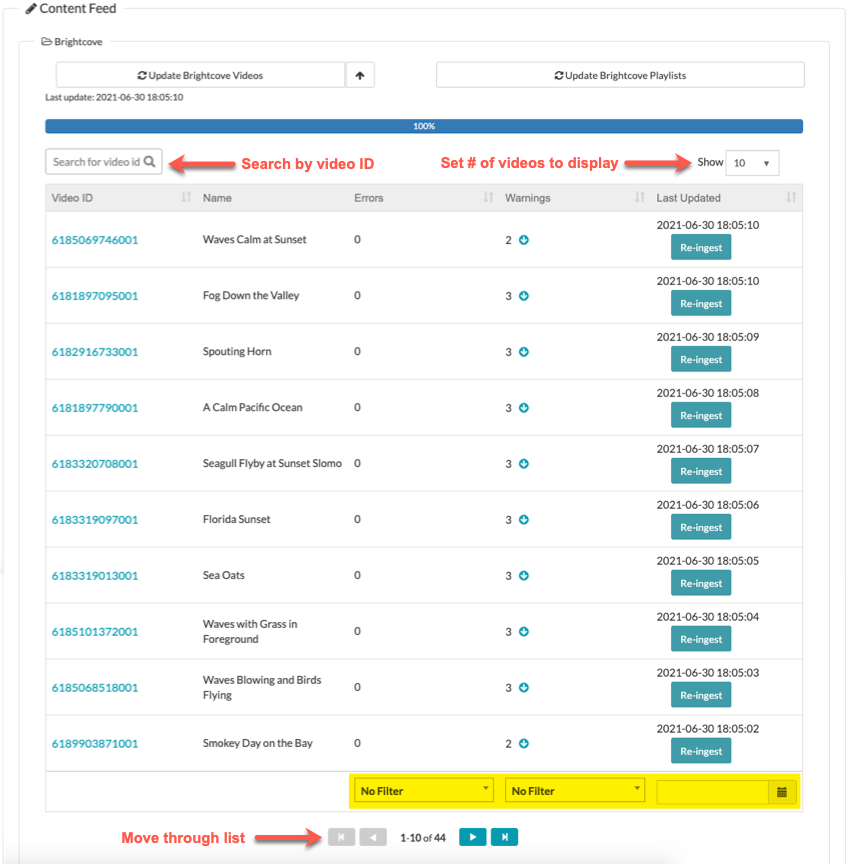
Once you click the down arrow button, you will see the following which shows the videos that have been synced. Note the available functionality (red arrows) and filtering (highlighted in yellow, and detailed below the screenshot).

Filtering
You can filter by the following:
- Errors

- Warnings

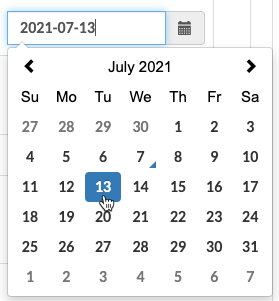
- Single updated date

Errors and Warnings details
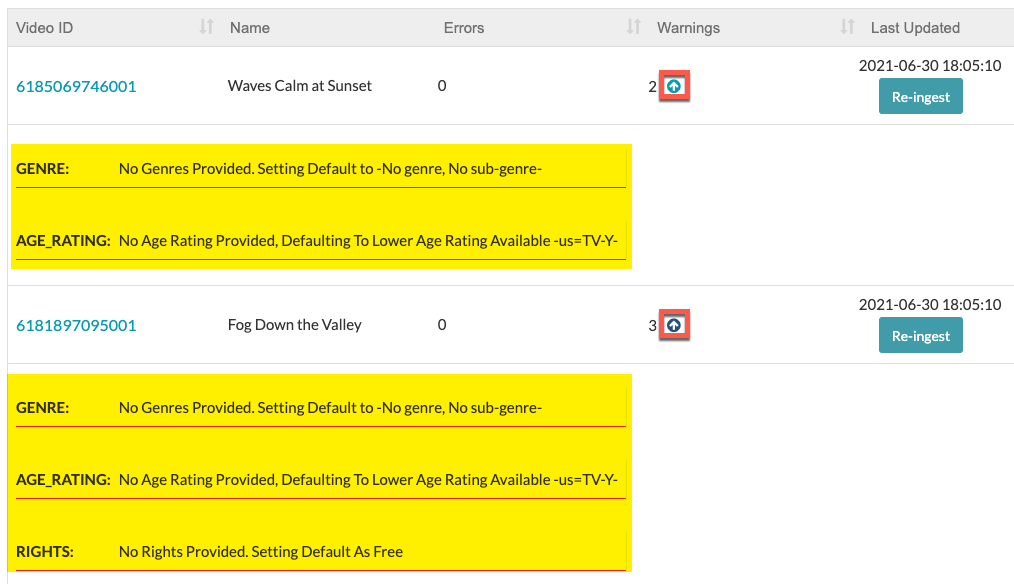
Click the arrow next to the number of errors or warnings (boxed in red) and the details will appear for the respective error or warning (highlighted in yellow).

Clearing the cache after syncing
After syncing the videos you will most likely want to clear the cache to see the results of performing a sync as soon as possible. This can be done from the Tools menu. Simply click the Cache option from the left navigation and click the Cache Purge button. Note that doing this too frequently has an adverse effect on scalability and performance. For details see the Using the Tools document.
