Overview
Server-side ads are embedded in the video stream so they cannot be blocked by ad blockers in the browser. It works with both DRM-protected and non-protected content. Brightcove Beacon supports VOD with SSAI.
Here are the steps for adding server-side ads:
- In , create an ad configuration.
- In , set the custom field values for your video.
- In , add your video to a playlist.
- In , import your videos and playlists, then set advertising options.
Best practices
Brightcove recommends following these best practices when adding server-side ads to VOD content:
- Create your ad configuration in Video Cloud Studio.
- Assign the ad configuration to videos using the custom fields in Video Cloud Studio.
- Only use the Advertisement section in Brightcove Beacon for live events and channels.
Creating an ad configuration
Here you will create an SSAI ad configuration to define the ads displayed in your Brightcove Beacon VOD asset.
- Log in to .
-
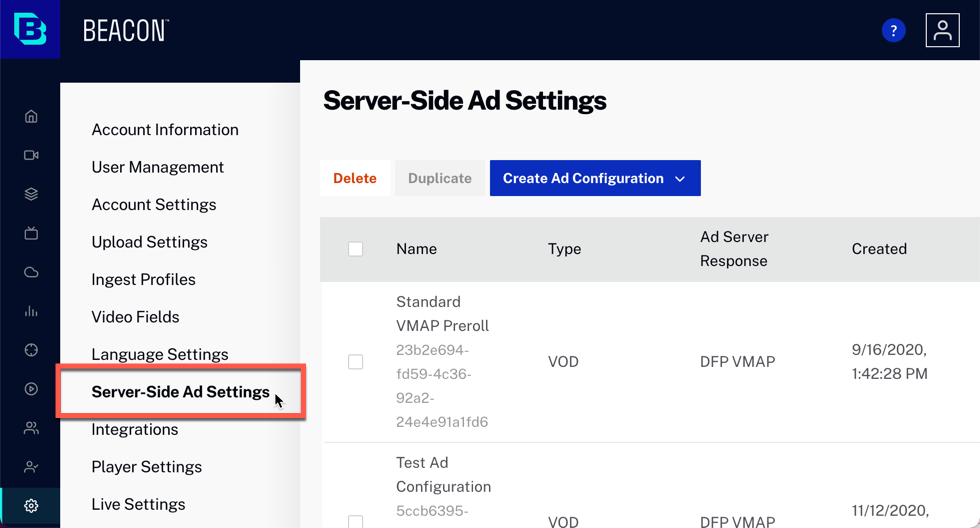
In the primary navigation, click Admin and select Server-Side Ad Settings. A list of all ad configurations will be displayed.
-
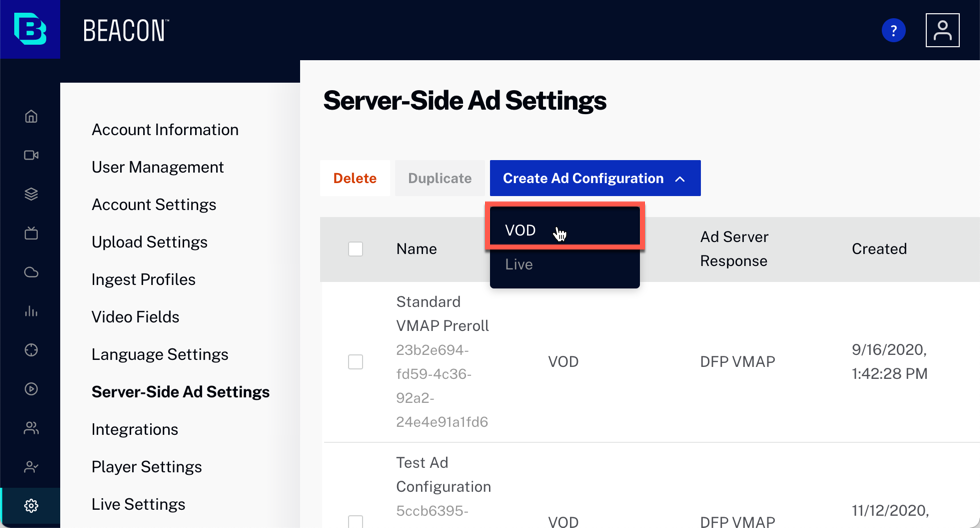
To create a new ad configuration, click Create Ad Configuration.
-
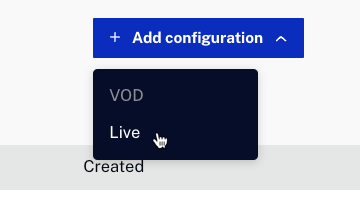
From the dropdown, select VOD as the type.
-
Check to be sure you are seeing the
Server-Side Ad Settings form.
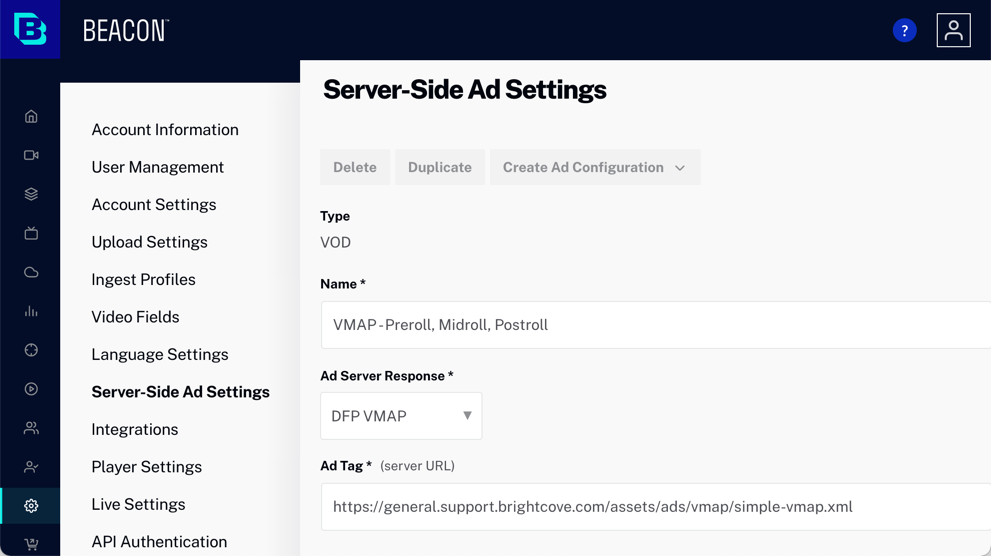
- Give your ad configuration a Name.
-
Select the Ad Server Response:
Ad Server Response Details VAST 3.0 Digital Video Ad Serving Template DFP VMAP Video Multiple Ad Playlist DFP (Ad Rules) Proprietary format for DFP/Google for Publishers Smart XML Proprietary format for FreeWheel
- Enter the Ad Tag (server URL).
- Click Save.
-
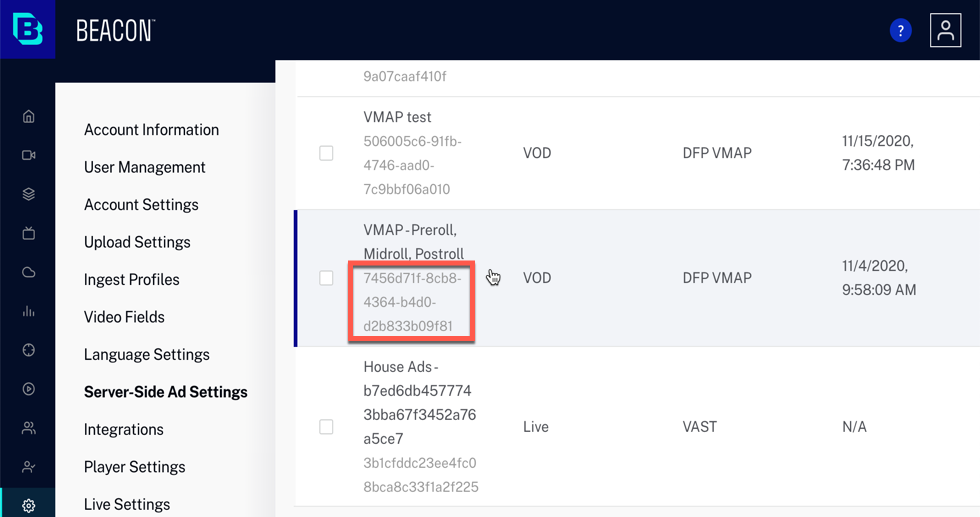
Copy the ID of your Ad Configuration, as you will need it later to configure your VOD asset.
Setting custom field values
In this section, you will learn how to configure your VOD asset with the necessary settings to display SSAI in your Brightcove Beacon apps.
-
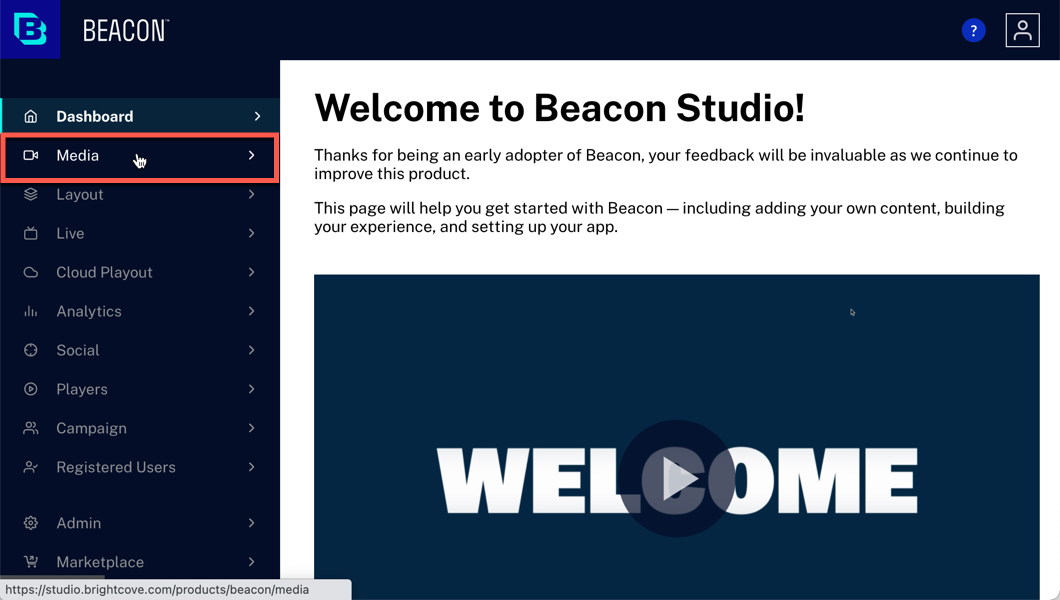
In the primary navigation, click Media.
-
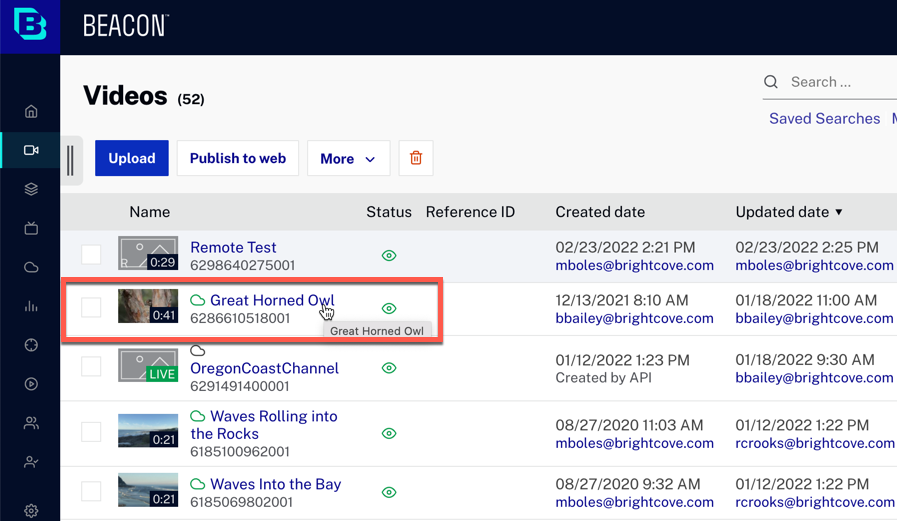
Click the video to which you want to add SSAI.
- Scroll down to the Custom Fields section.
-
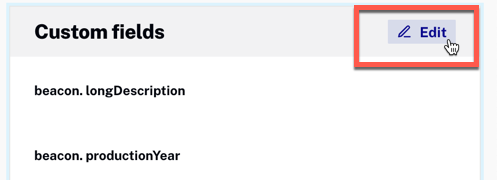
Click Edit.
-
Scroll down and locate the beacon.rights.0.adConfiguration field, then paste the ID of your previously created Ad Configuration.

-
Keep scrolling down and in the beacon.rights.0.type field write AVOD to categorize this VOD as and Advertising VOD.

- Click Save.

-
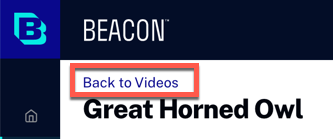
In the top menu, click Back to Videos.
Adding videos to a Playlist
In this section, you will add your VOD asset to a playlist.
- In , click Media.
-
Click the checkbox for your video.

- Click More.
- Click Add to Playlist.

-
Select the playlist to which you want to add your video.
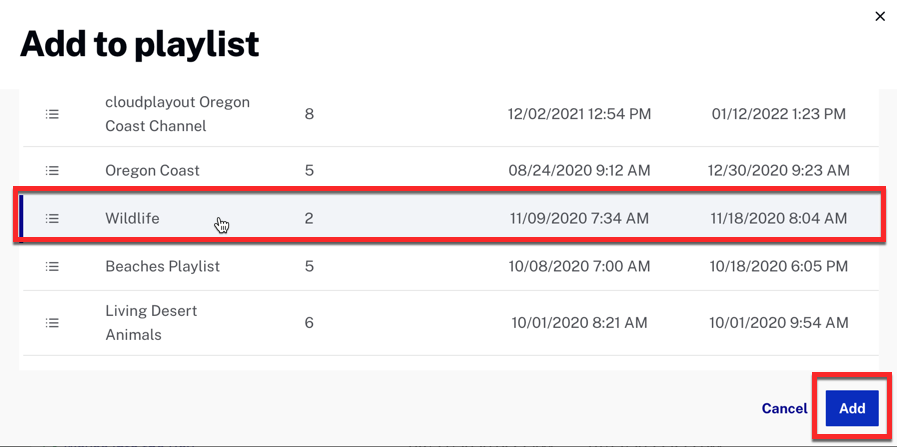
- Click Add.
- Once your VOD asset has been added to the playlist, go to the Brightcove Beacon platform.
Importing videos and playlists
In Brightcove Beacon, you can ingest/import videos and playlists from Video Cloud.
- Log in to your Beacon Classic.
- In the top menu, select Tools, which is the wrench icon.
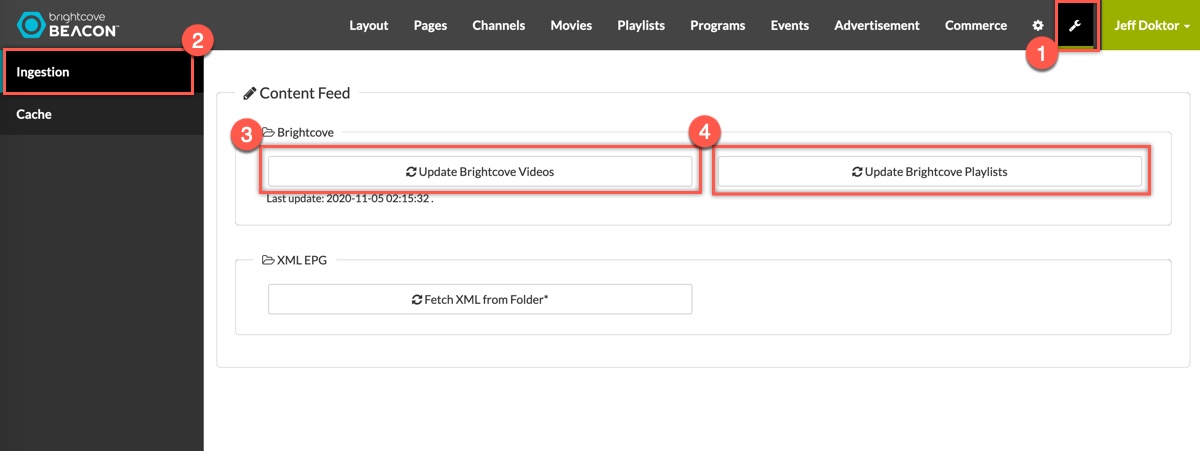
- In the left navigation, select Ingestion.
- Click Update Brightcove Videos and/or Update Brightcove Playlists.
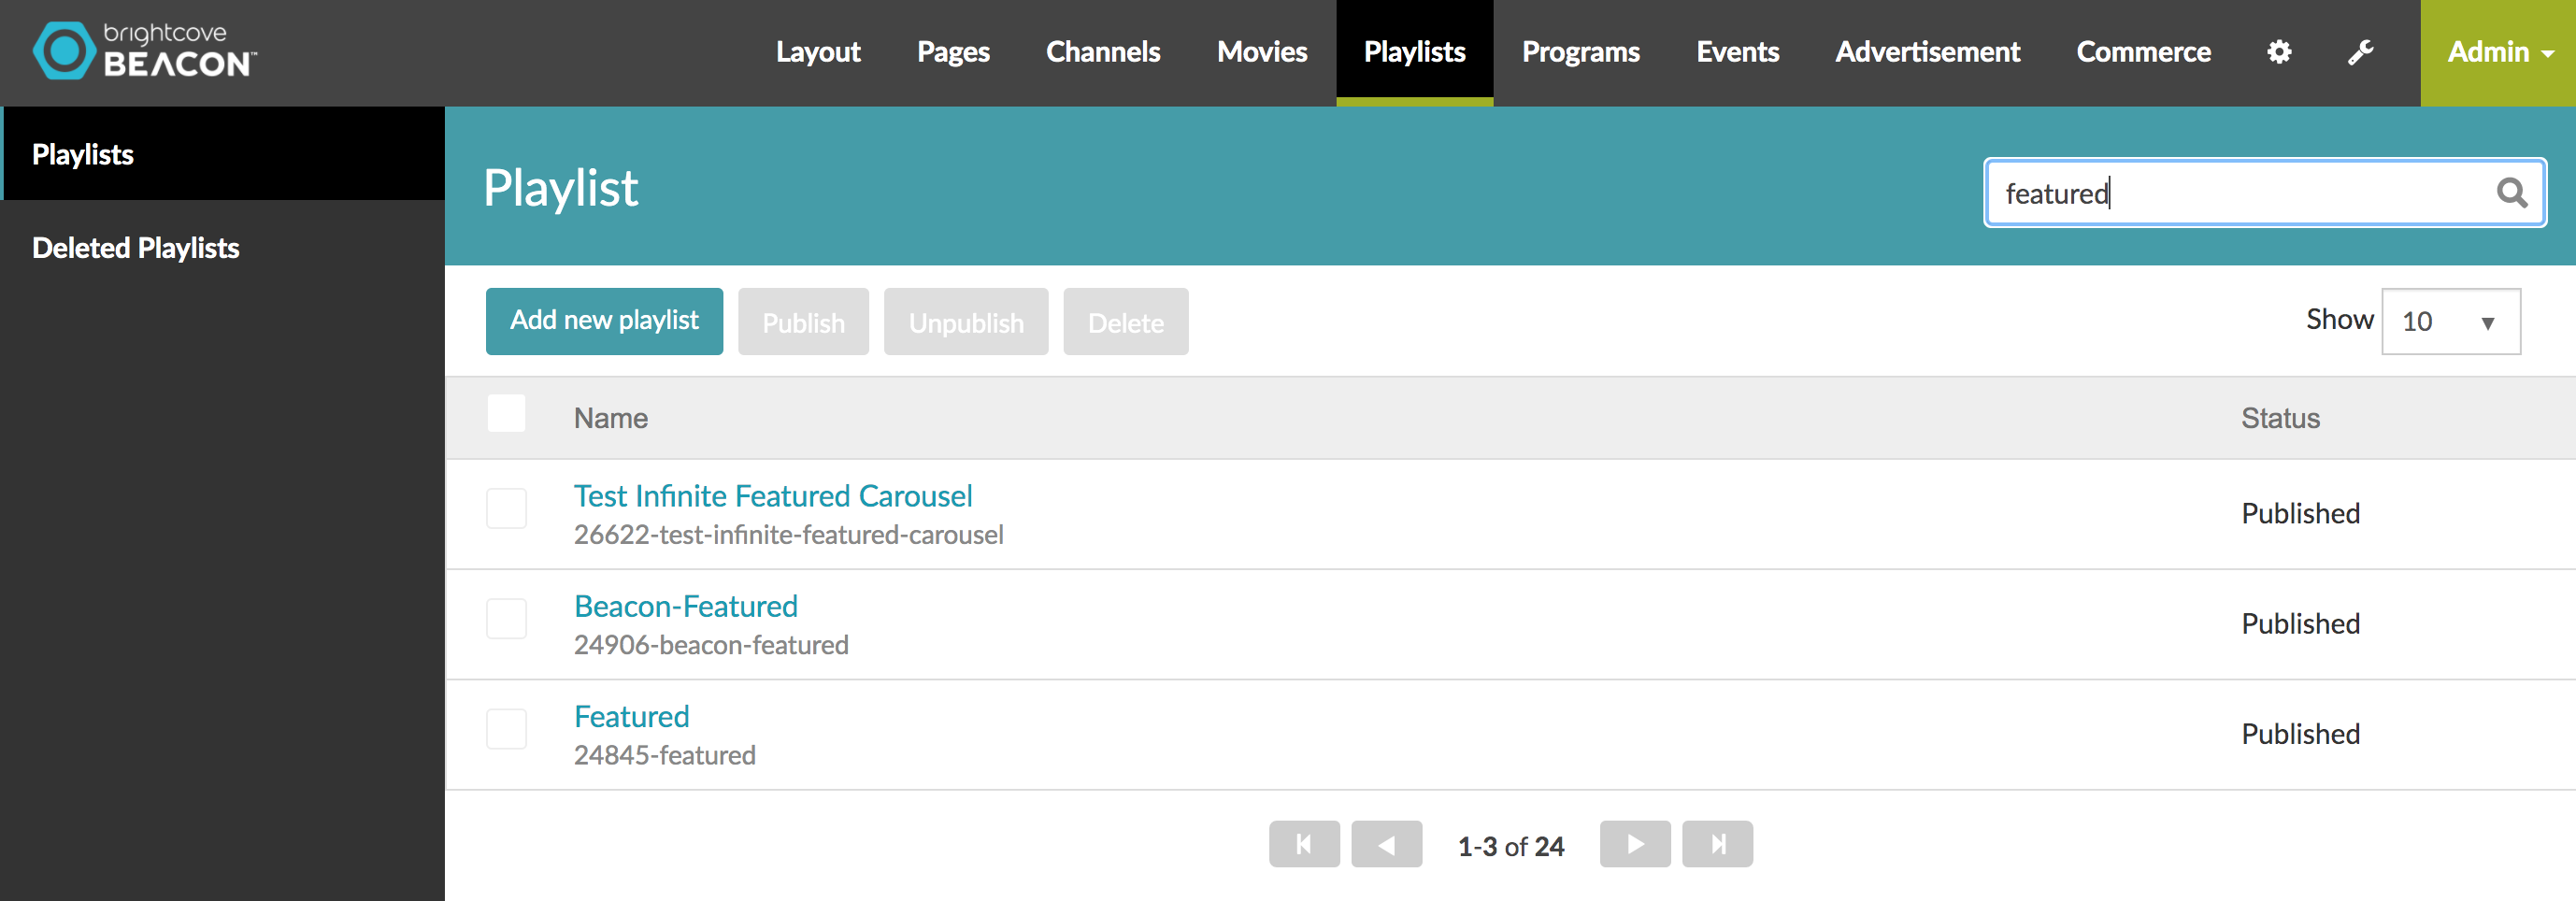
- Your videos and playlists from Video Cloud should now be in Brightcove Beacon. In the top menu, click the Playlists tab.
-
Select your playlist to see the videos it contains.
-
Check to be sure you can see all the VOD assets associated with that playlist in the left table of contents.
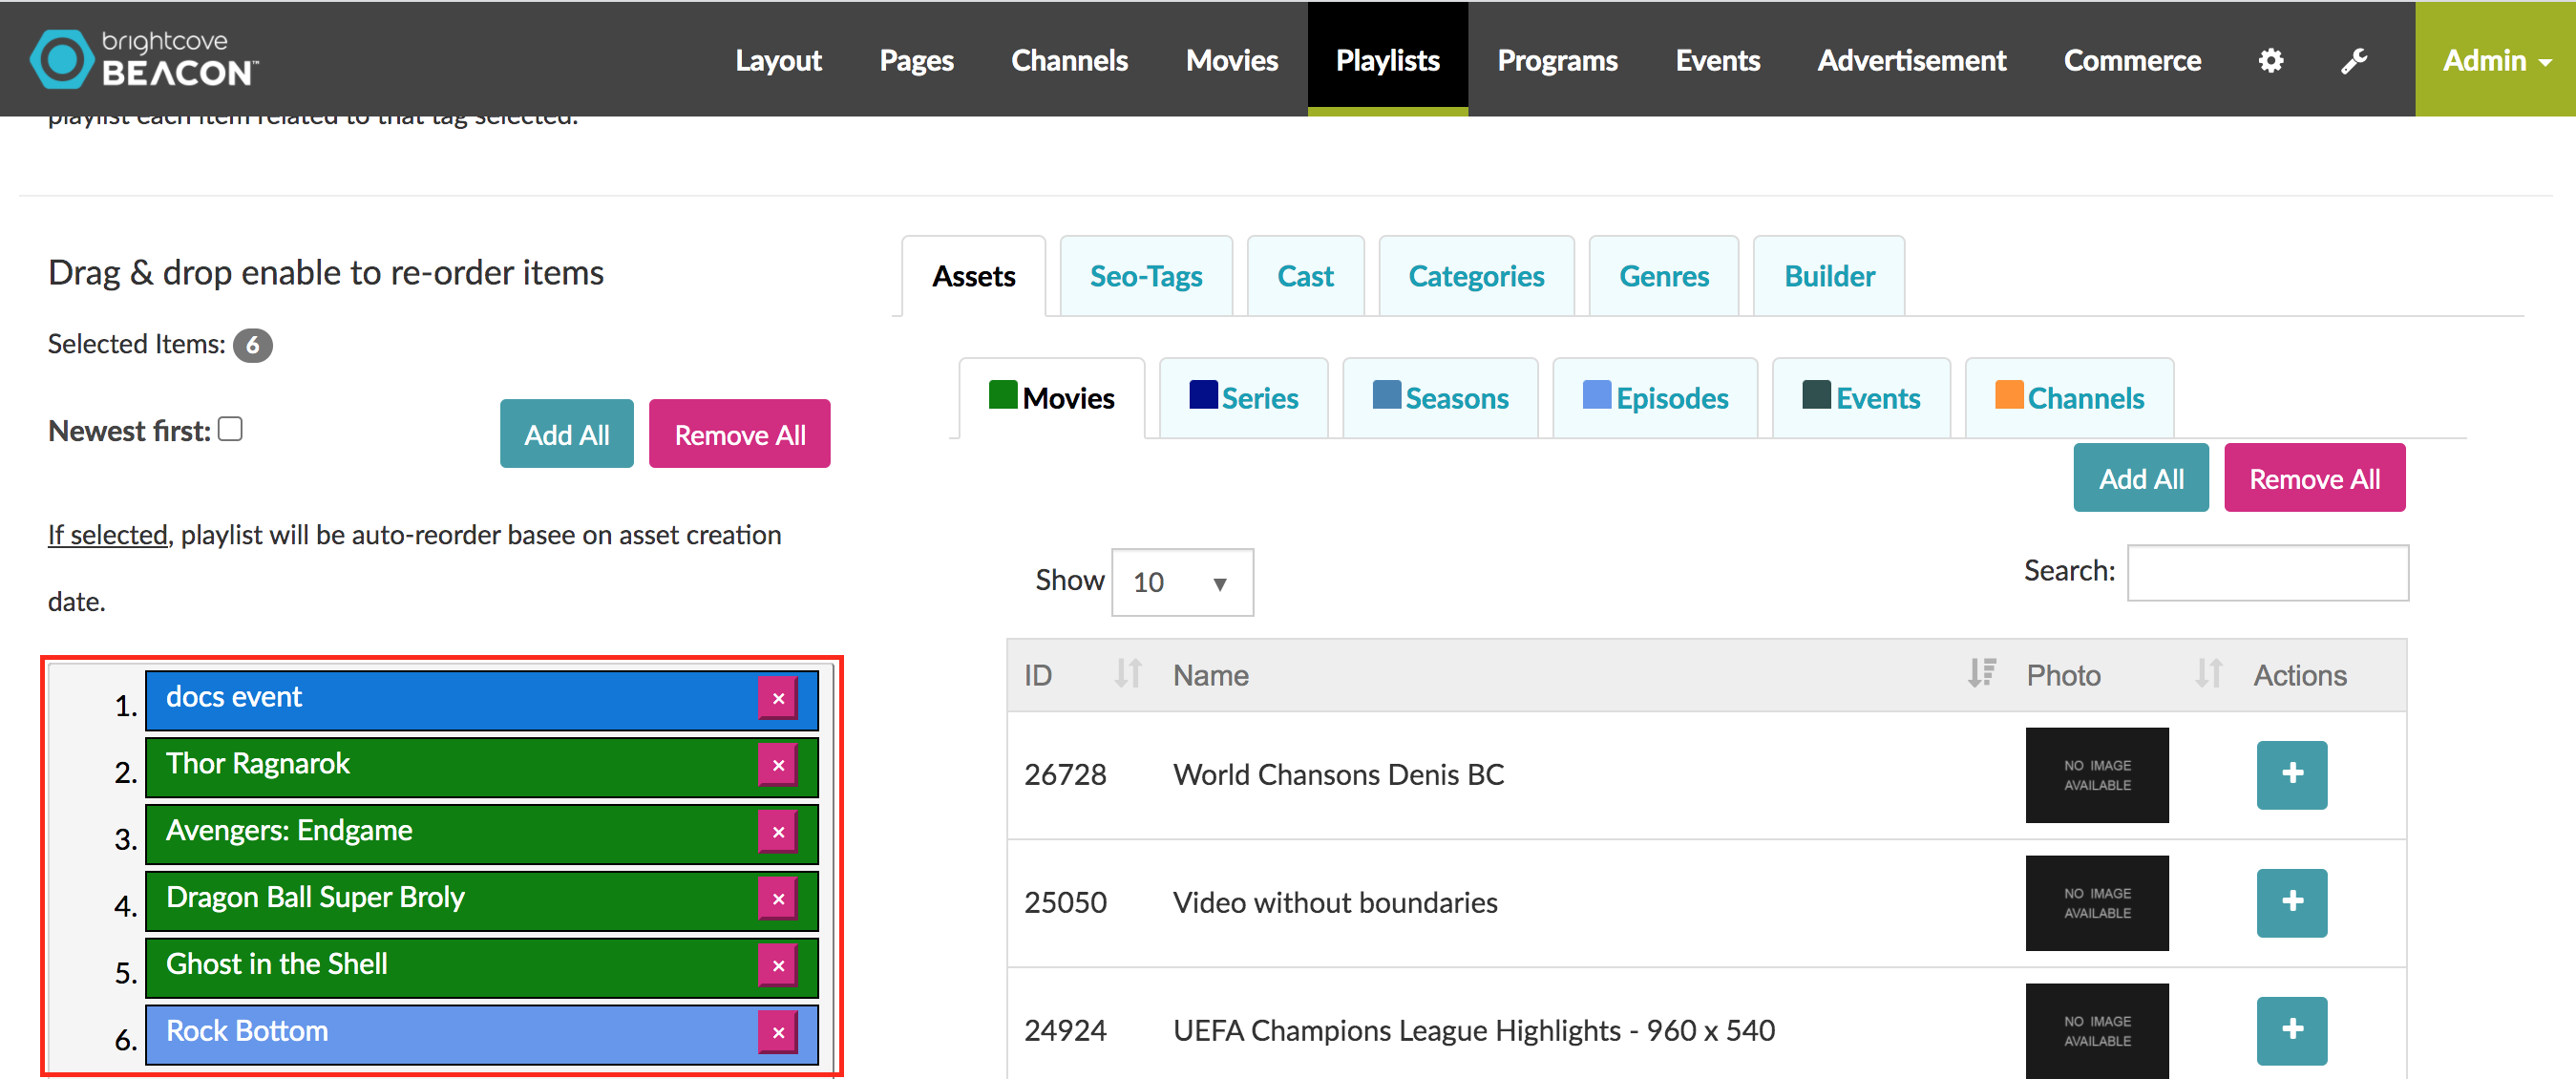
- In the Brightcove Beacon top menu, click in the Movies tab.
-
Click on your VOD asset.

-
Click the Rights & Scheduling tab.
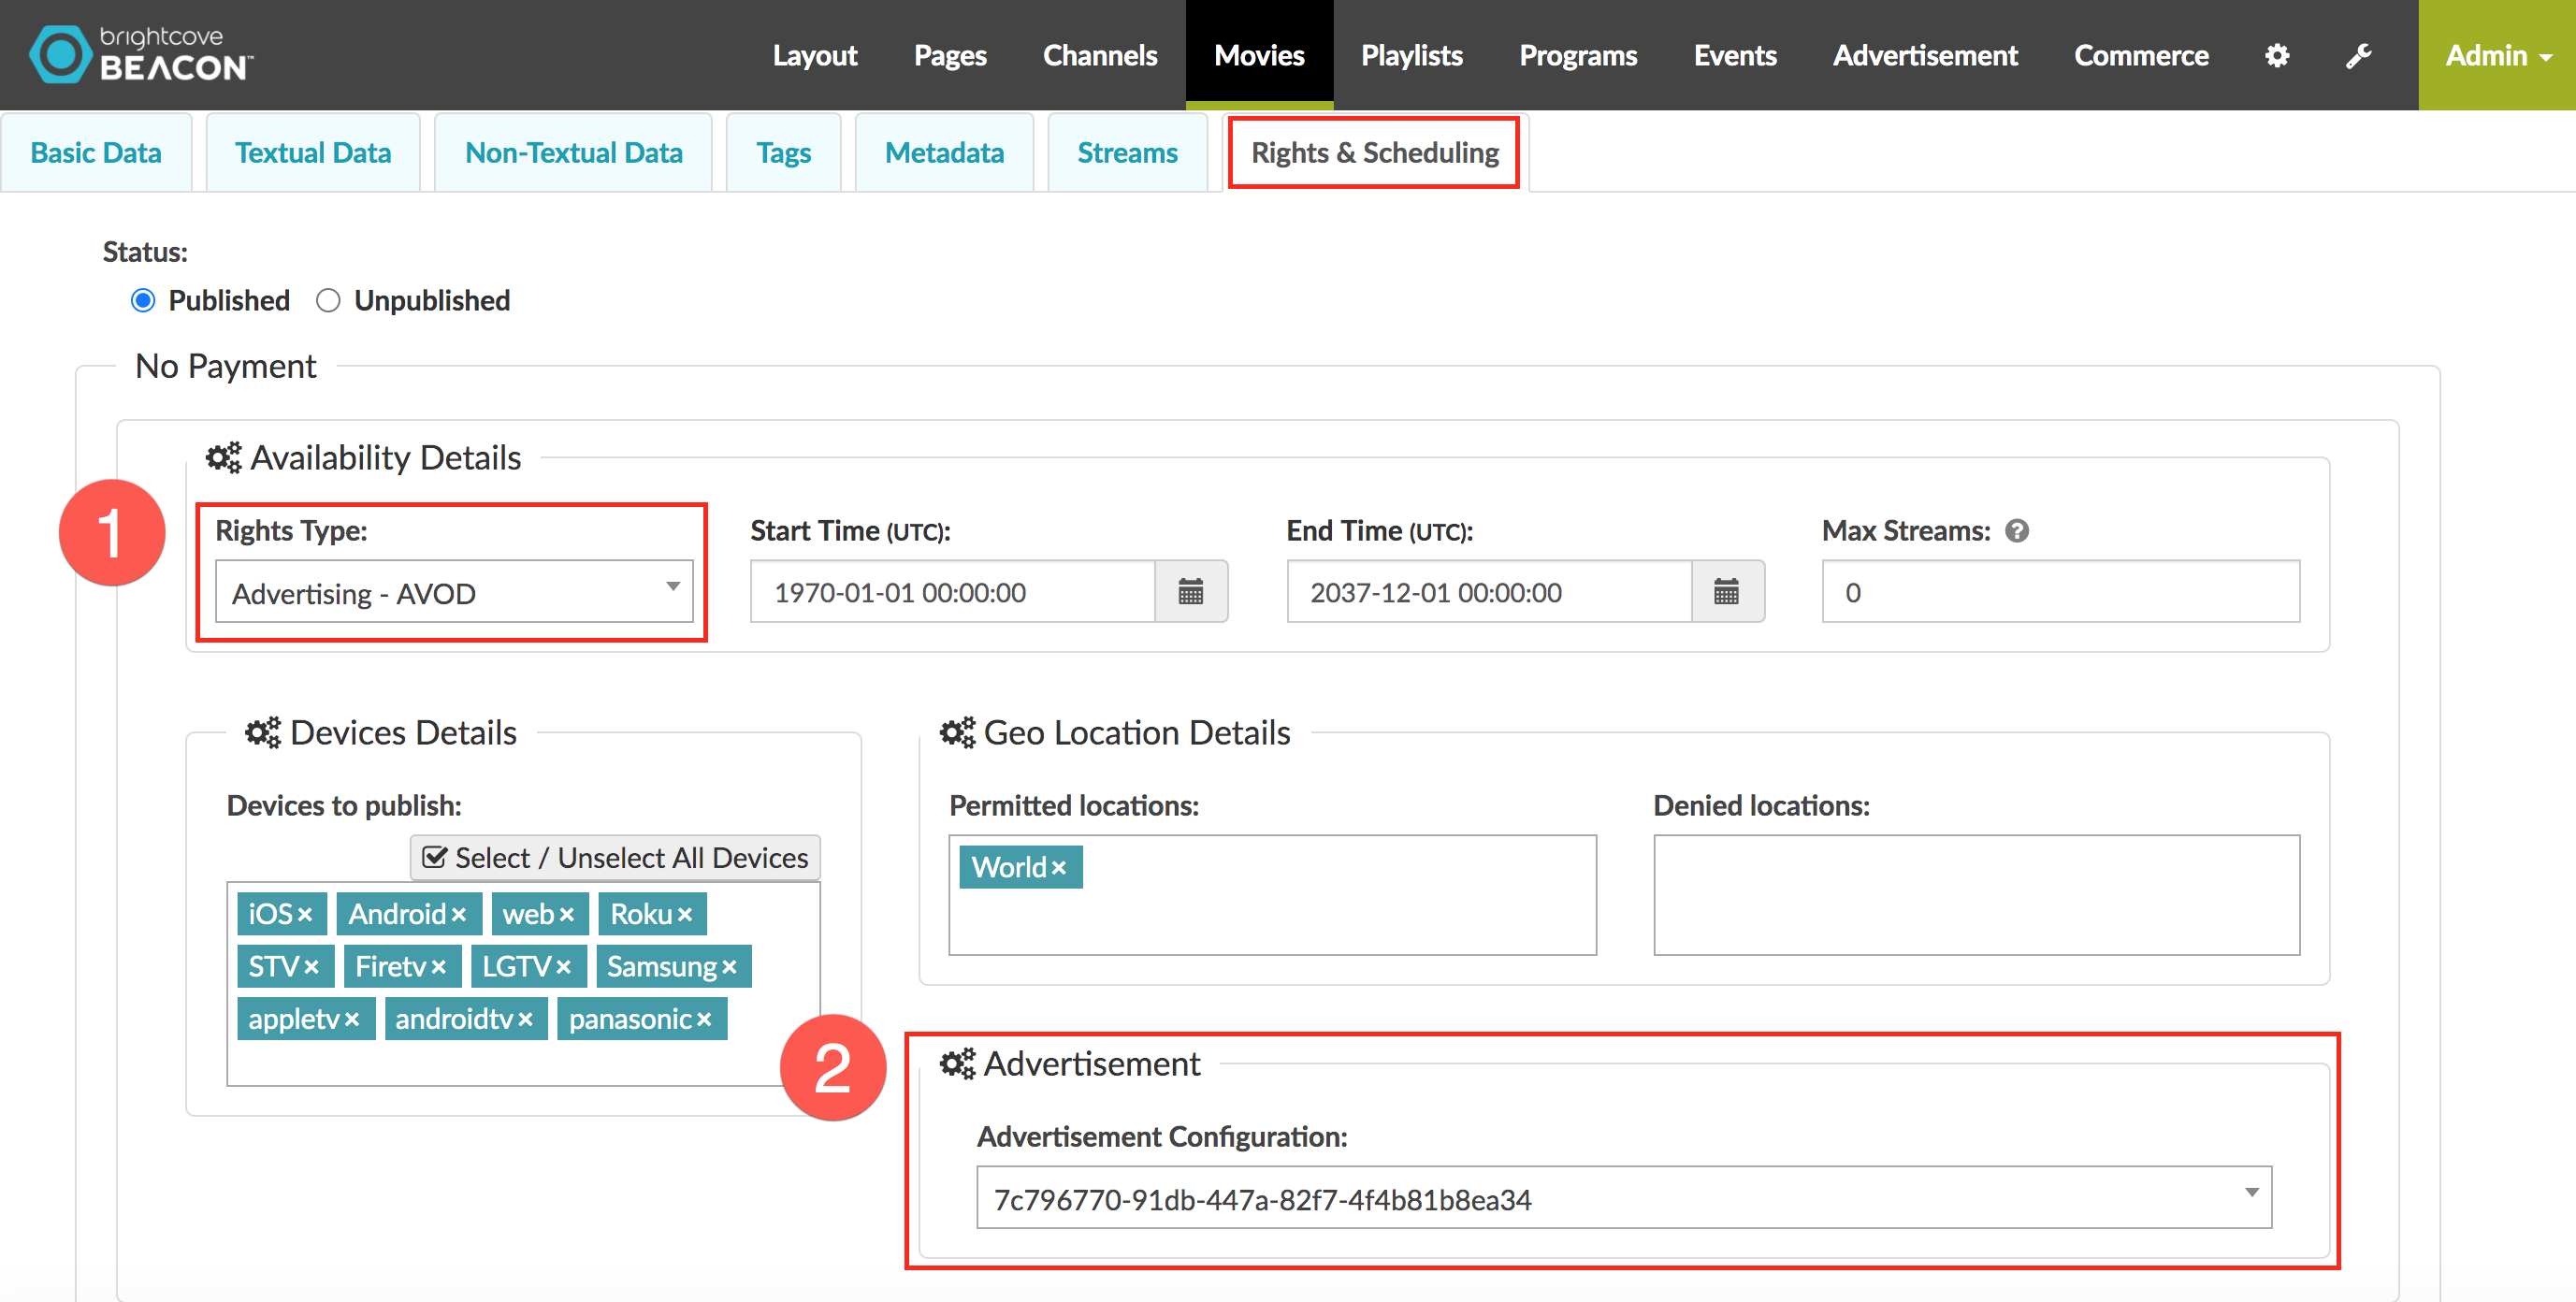
- In the Rights Type menu, you should see Advertising - AVOD selected.
- In the Advertisement Configuration menu, you should see your previously created ad configuration id.
-
To see your videos in your app right away, you need to clear the cach. In the top menu, click the Tools (wrench) button, then clear the cache.
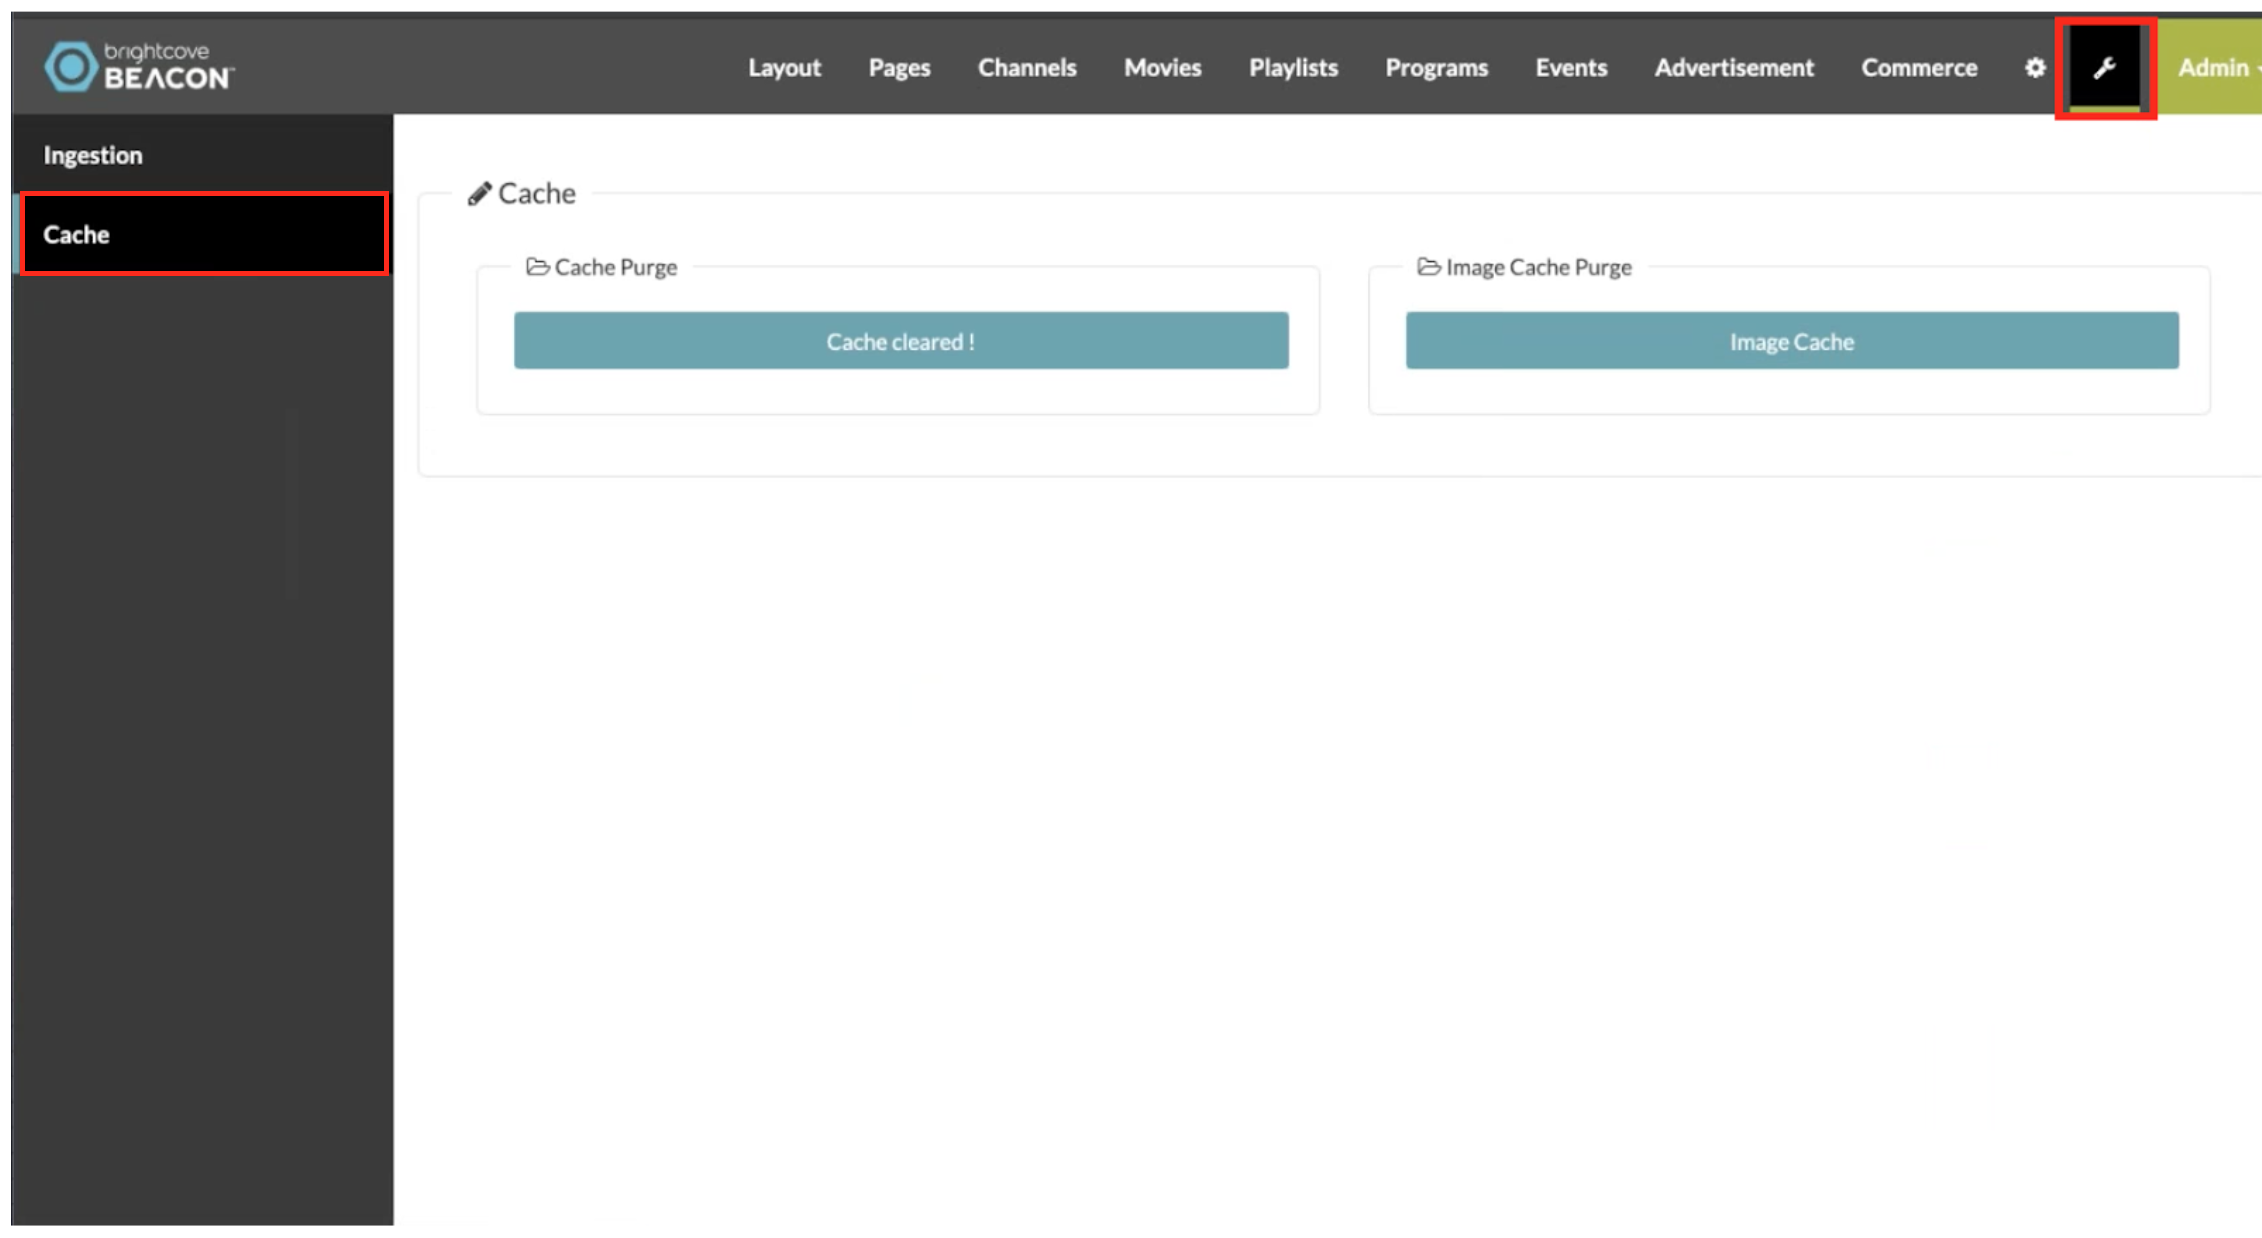
- In the left navigation, select Cache.
- Select the Cache Purge button.
-
Open your Brightcove Beacon App and click in the Page tab on which your playlist was added. (All the event names and pictures on the image are for example purposes only).
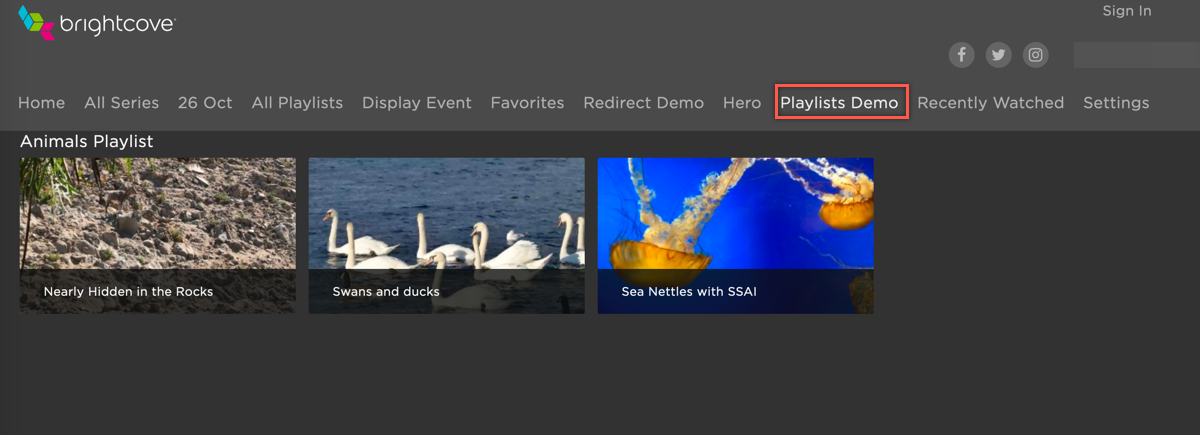
- Click the movie that you have configured with server-side ads.
-
Click the Play button and you should see your video play with ads.
