Introduction
This document steps you through using the Google Play Console to create a service account and then perform a couple of configuration tasks.
Create a service account
Perform the following steps to create a service account:
- Navigate to your Google Cloud Platform account.
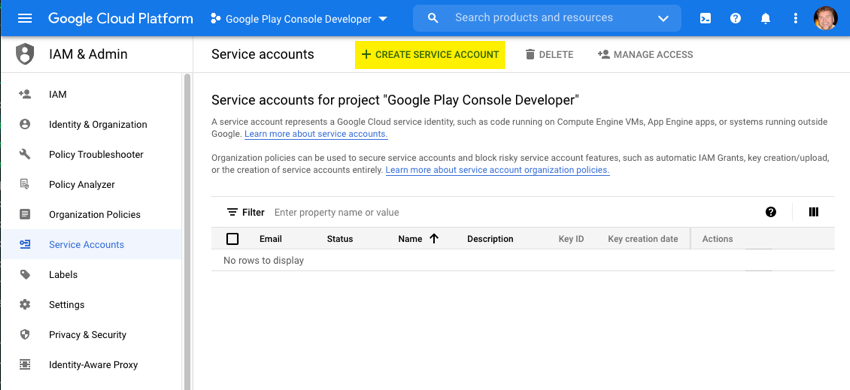
- In the top, use the search bar and go for Service Accounts. Click + CREATE SERVICE ACCOUNT.
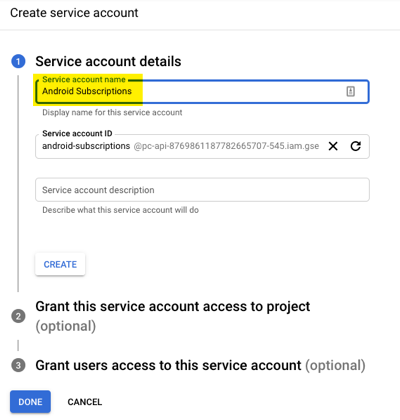
- In the dialog that opens, for the Service account name enter Android Subscriptions then click CREATE.
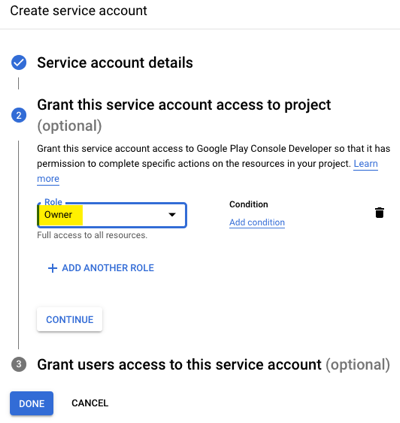
- In step 2, from the dropdown choose the Role to be Owner then click CONTINUE.
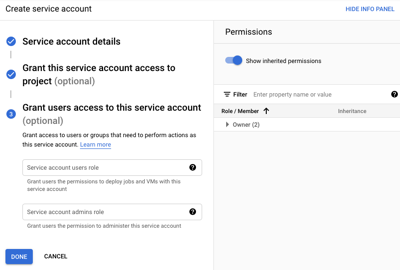
- In step 3, click DONE.
Configure the service account
Perform the following steps to configure your service account:
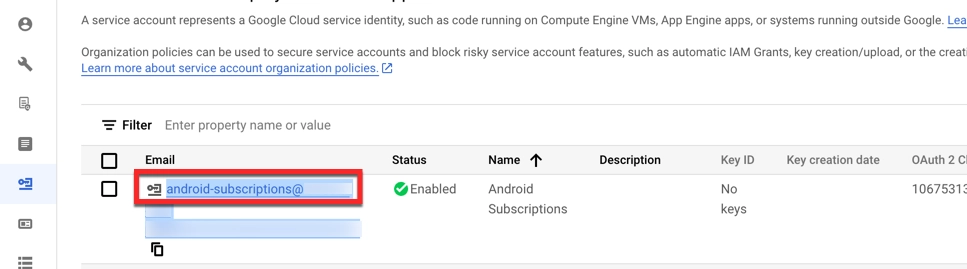
- Copy and keep the email that was generated.
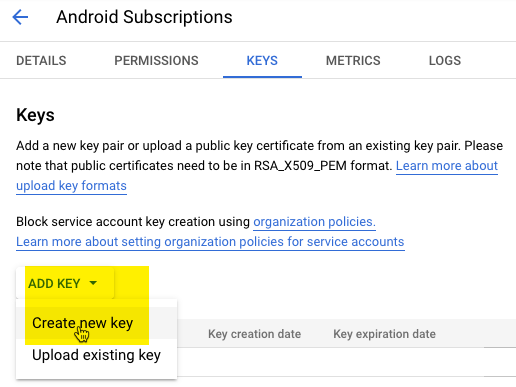
- In the Keys information, select ADD KEY → Create new key
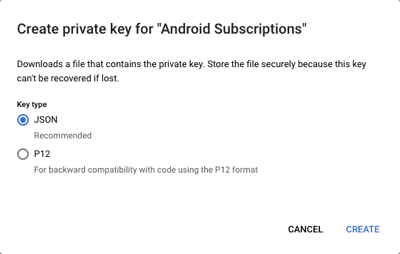
- From the private key info, leave the Key type to be JSON, then click CREATE.
- Be sure you see this message displayed:
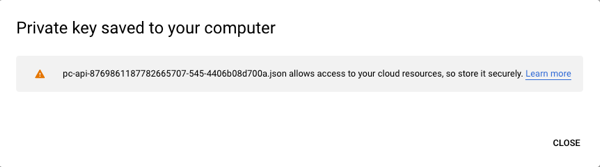
- You need to email the private key file to your onboarding manager.
- Go to you play console account Google Play Console
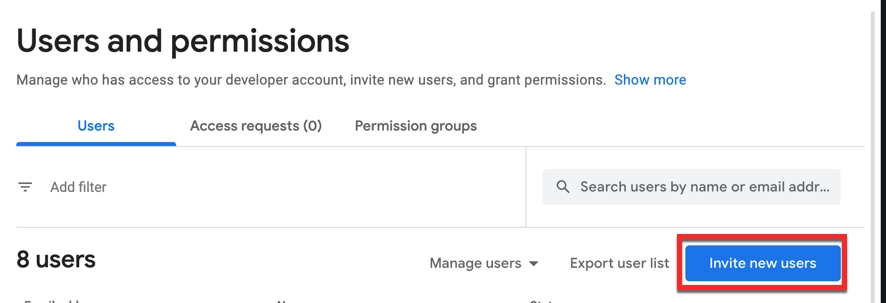
- Selected User and Permission from the left menu. Click on Invite new user button.
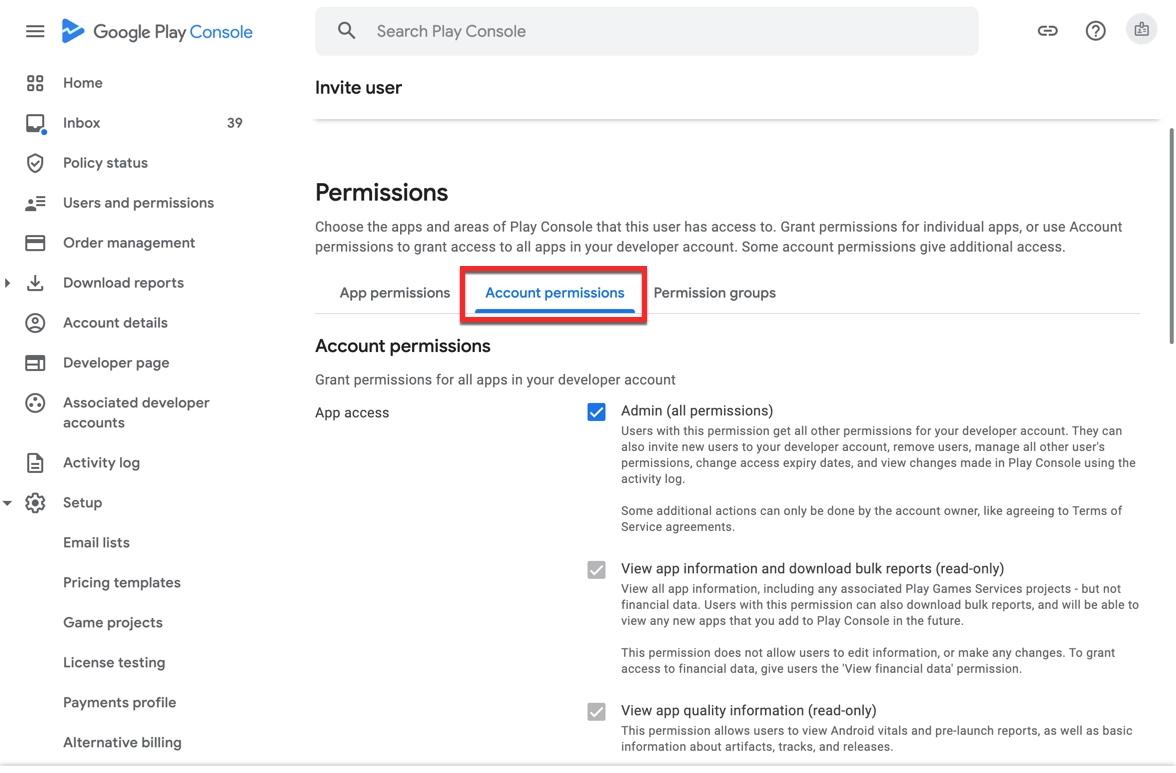
- Paste the email that you saved from step 6. Under the Permission section, go to App Permissions and select your app.
- In the bottom-right of the page, click .
- In the dialog that opens, click .