Introduction
With Brightcove Beacon, you will receive a generated device app which can be added to the Panasonic Store.
- Store details: https://developer.vieraconnect.com/
- Suggested lead time for approval: Three weeks
Required information for Panasonic:
-
Application
- Application URL and Application Staging URL
-
Description
- Maximum 1024 characters
- Maximum 26 lines
- Each line consisting of maximum 85 characters (or 44 Asian characters)
- Please insert line breaks wherever appropriate
-
Icons
-
Four icon images are needed:
- 160x112 (PNG)
- Banner style icon 256x60 (PNG)
- 360x252 (PNG)
- Round circle icon diameter 336x336 (PNG)
-
Four icon images are needed:
-
Screenshot
- At least one is needed
- 480w x 270h PNG
- They are displayed on the application detail page in the Market
Getting started
To access the Panasonic developer pages, follow these steps:
-
In a browser, navigate to the Panasonic developer login page.
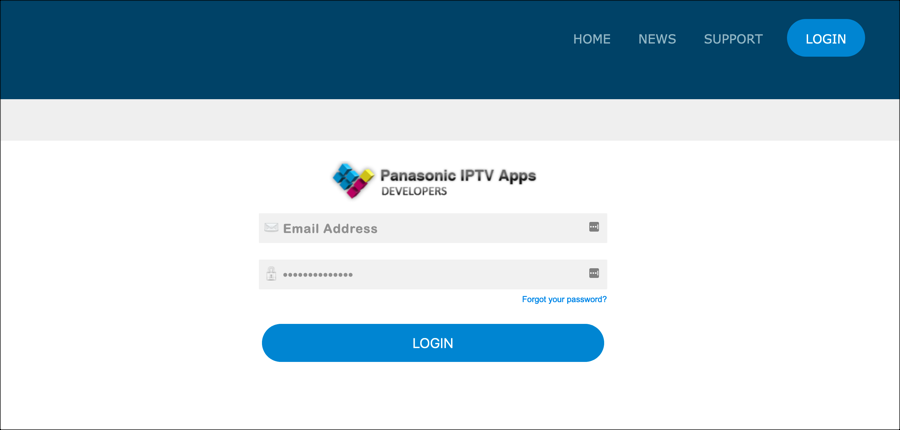
Panasonic developer login -
Either sign in with your account or create a new account.
-
When you log in, you should see the control panel.
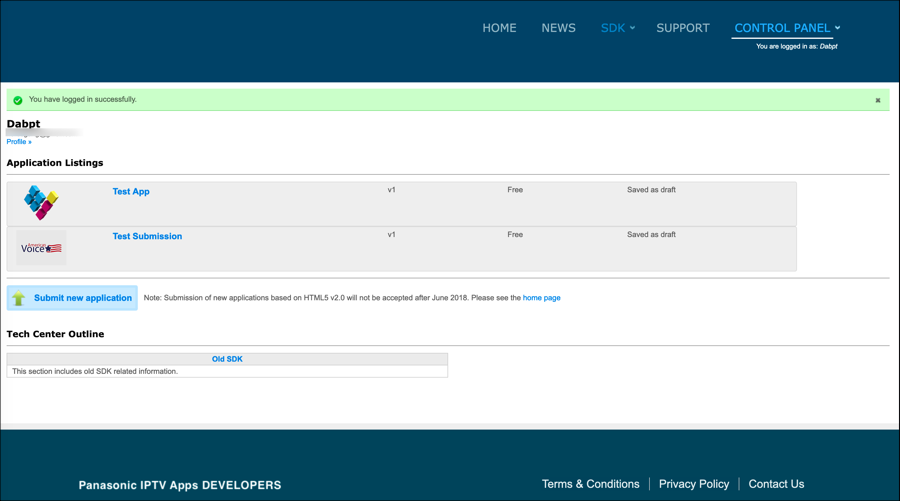
Control panel -
Read the note which is to the right of the Submit new application button. Select the home page link.

Home page link -
Review the app requirements. Don't worry, Brightcove will create the app with the needed technology.
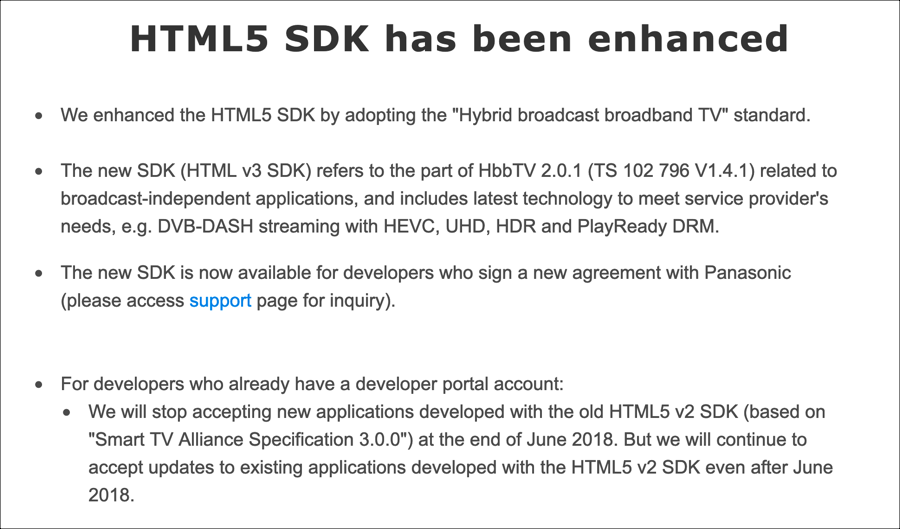
HTML5 requirements
Application Info
The Application Info section is where you will enter basic app information.
-
From the control panel, select the Submit new application button.

New application button -
You should see an input form like this:
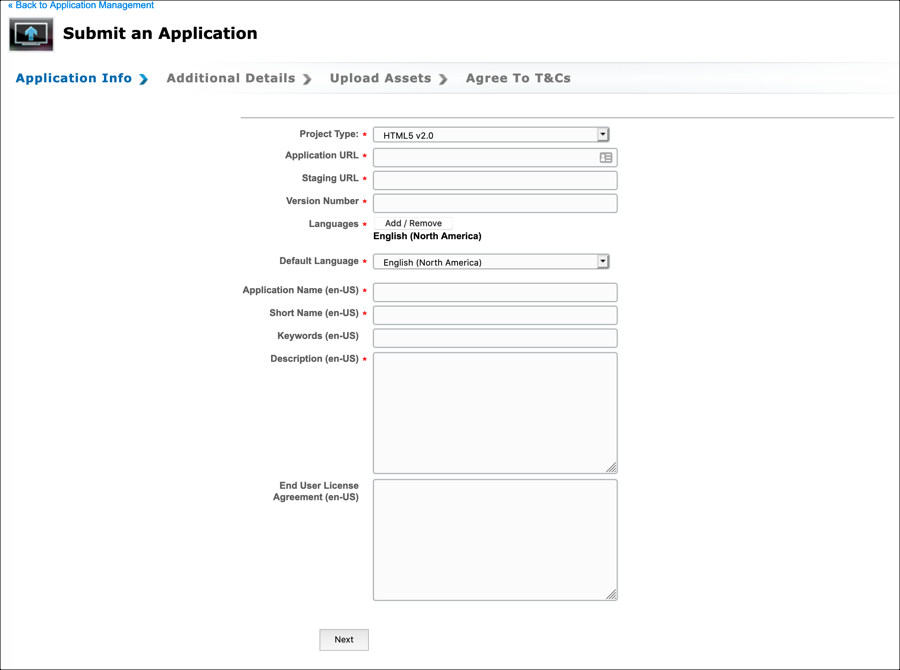
Application info -
In the Application Info page, enter values for the required fields:
- Project Type - From the dropdown menu, select that latest HTML version available.
- Application URL - Create two repositories to host your app builds from Brightcove: One for production and one for staging. The Application URL is the production URL.
- Staging URL - Enter the staging URL for your app build.
- Version Number - Enter the version of your app.
-
Select the Add / Remove button. Choose the languages you want available for your app. Select the Confirm button.
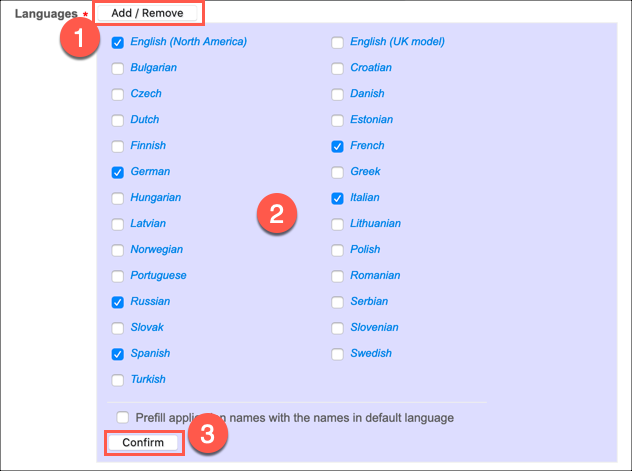
Languages -
Enter values for the fields with the selected language. In this example, English (North American) is selected.
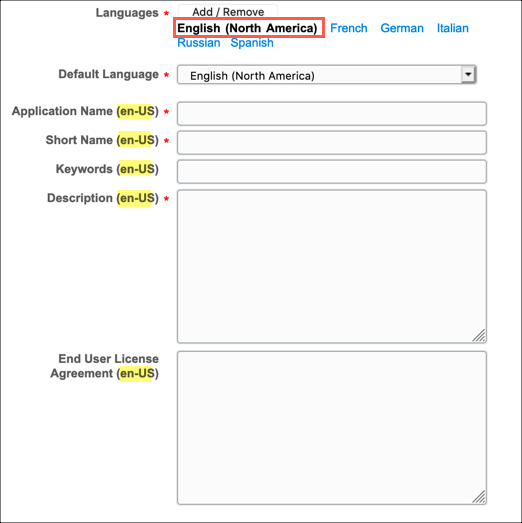
English language fields - Default Language - From the dropdown menu, choose the initial language for your app. If your app supports English, Panasonic recommends that you choose English ((North America) or English (UK model)).
- Application Name - Enter the name you want to use for your app.
- Short Name - Enter the short name you want to use for your app. This can be the same as the Application Name.
- Keywords - Enter keywords to be used by the Market search function to find your app. Separate keywords with a comma (ex: table tennis, sports). Maximum of 128 characters.
- Description - Enter a description for your app. This will be displayed on the application detail page in the Market. Click inside the input box for details.
- End User License Agreement - Optional. Enter the end user license agreement.
-
Select the next language in your list of chosen languages and enter the values for the fields described in the previous step.
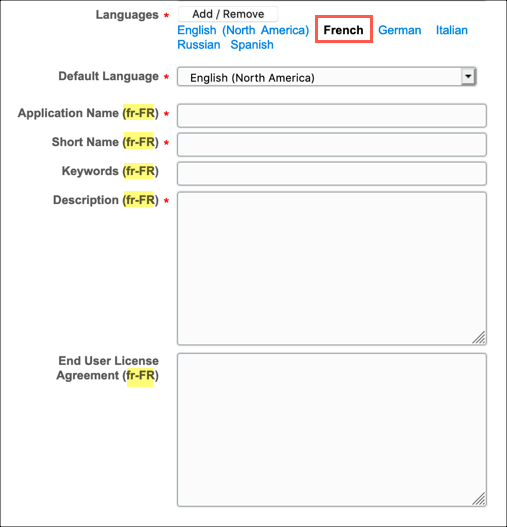
French language fields -
Select the Next button.
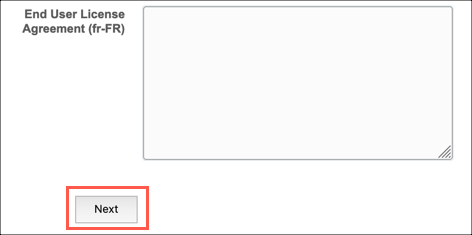
Next button
Additional Details
The Additional Details section allows you to add support and content details.
-
After selecting the Next button from the previous section, you should see an input form like this:
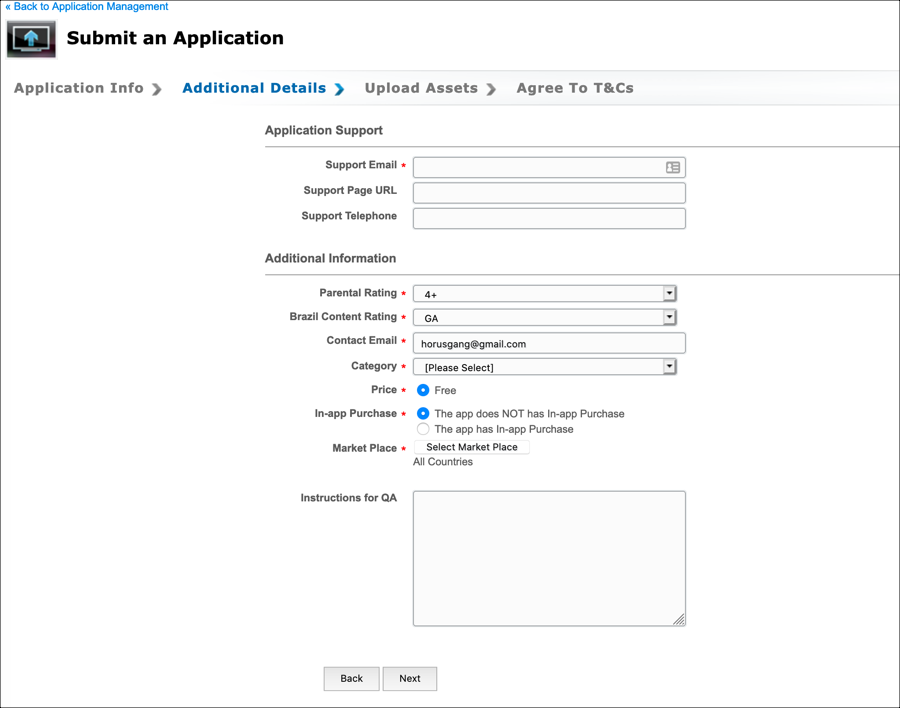
Additional details -
In the Additional details page, enter values for the required fields:
- Support Email - Provide the email address for users to contact when they encounter issues with your app.
- Parental Rating - Expand the dropdown menu to see the definitions for each parental rating. Select the rating that is appropriate for your app.
- Brazil Content Rating - This is required if you plan to release in Brazil. Expand the dropdown menu to see the definitions for each Brazil rating. Select the appropriate rating.
- Contact Email - Enter your contact email address.
- Category - Expand the dropdown menu to see the list of categories. Select the appropriate category.
- Price - Normally, the apps on Panasonic are free to download.
- In-app Purchase - Select whether your app will have in-app purchases.
- Market Place - Click on the Select Market Place button to see a list of countries. Either choose All Countries or select the countries where you want your app to be available. When you are done, select the Done button.
- Instructions for QA - Include any instructions that may be helpful, including that you added a button, changed a link, etc. If necessary, include test accounts for your app.
-
Select the Next button.
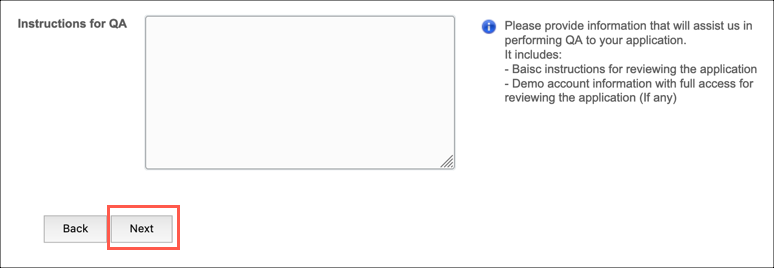
Next button
Upload Assets
The Upload Assets section allows you to add icons and images.
-
After selecting the Next button from the previous section, you should see an input form like this:

Upload Assets -
In the Upload Assets page, enter values for the required fields:
-
App Description Doc - Create a document that details how your app works. This can be the same document that you created for LG. Select the Browse button to locate your file. Then, select the Upload button.
Note that only
doc,docxorpdffiles are allowed for upload. Maximum file size is 8MB. -
Icon 1 - Upload a Market icon, which will be displayed on the listing page and application detail page in the Market.
160w x 112h PNG
-
Icon 2 (Circular Shape) - Upload a Firefox OS icon, which will be displayed on the Apps Doc page in the Market.
336 pixel diameter circle shape PNG
-
Sample Image 1 - These are screen shots of your app, which will be displayed on the application detail page in the Market. Add up to 5 sample images.
480w x 270h PNG
-
-
Select the Next button.
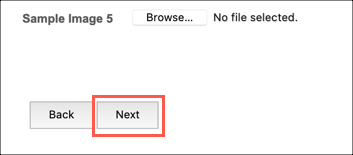
Next button
Agree to T&Cs
The Agree to T&Cs section allows you to review all of the information you have added for you app before submitting to the store. There is also a section with the Panasonic terms and conditions.
-
After selecting the Next button from the previous section, you should see an input form like this:
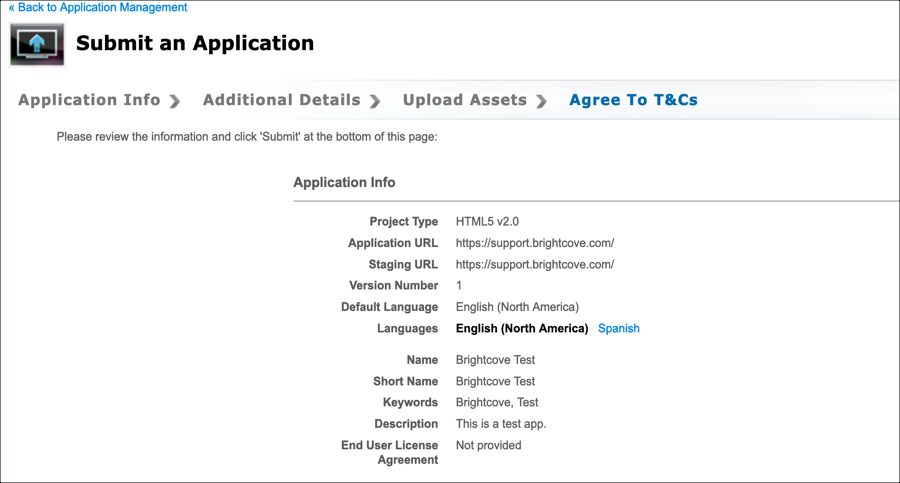
Agree to T&Cs -
Review the information and images you have added for your app.
-
Read the terms and conditions for Panasonic TV. Check the box that states you have read and agree.
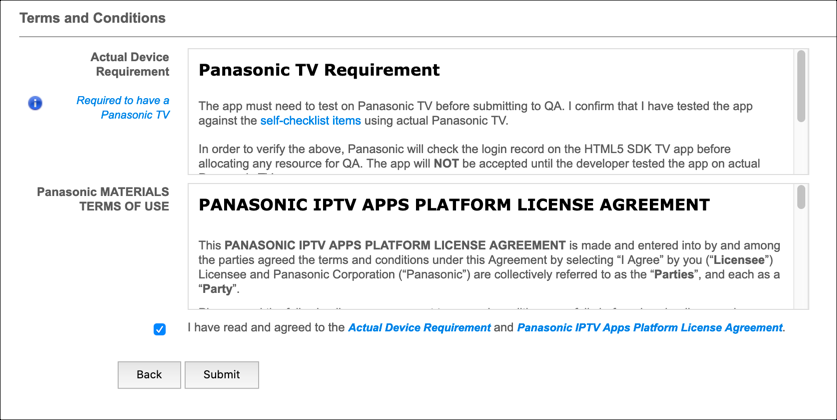
Terms and conditions -
Select the Submit button.
-
On the Application Listings page, you should see your app saved as a draft.

Saved as draft -
Your app will go into QA status before going live.